Before a choice
The script tells Google tags that consent is denied, holds known trackers and waits.
From sign-up to a live, compliant banner in about ten minutes. Here is what happens behind the scenes.
14-day free trial · No card needed · Cancel anytime
Sign up and name your workspace. Agencies usually make one per client, or one for the agency with every client site inside.
Type the domain. We scan your pages, list the cookies and trackers we find and sort them into categories.
Add the script as the first thing in your site's head, or through Google Tag Manager with the Consent Initialization trigger.
Choose a layout, your colours and fonts, and your text in English and French. On Pro, set the rule for each region.
Analytics show how visitors respond. The consent log keeps proof of every choice, ready to search or export.
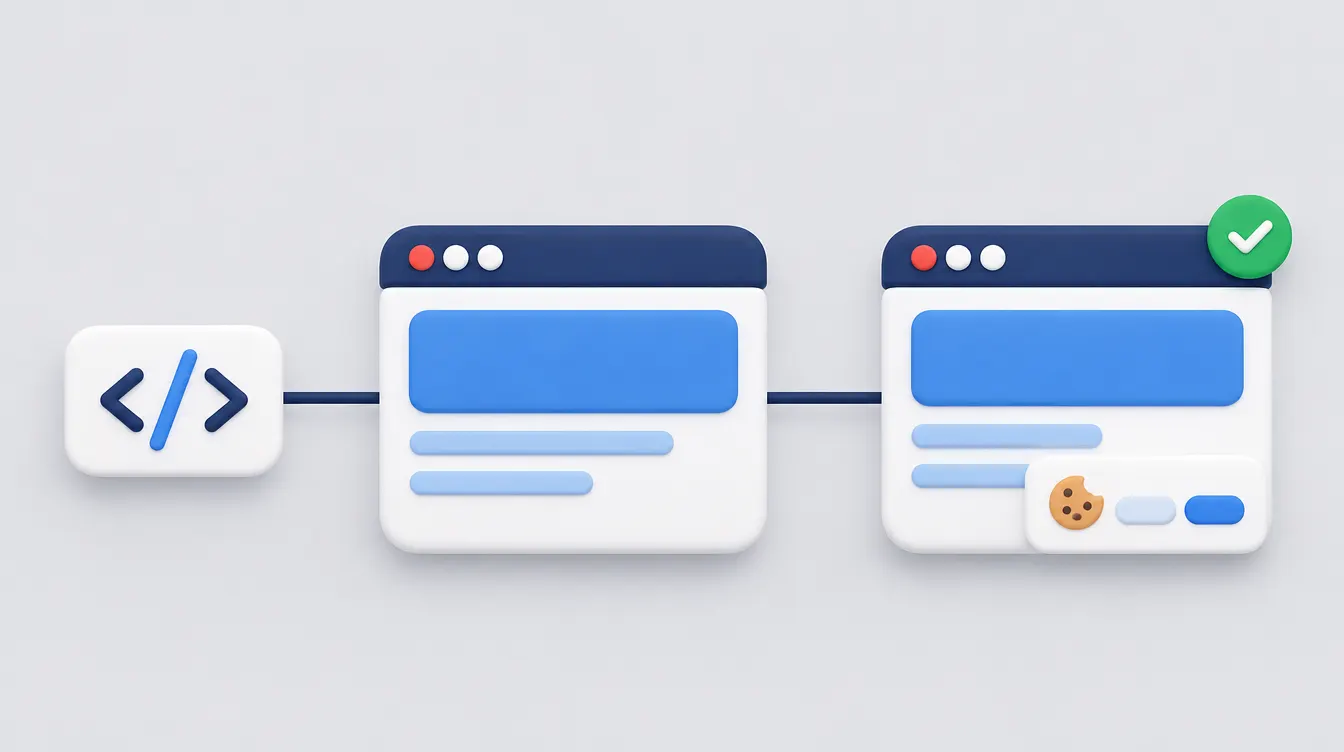
The script tells Google tags that consent is denied, holds known trackers and waits.
Allowed scripts load right away. Google tags receive the update. Your dataLayer gets an nc_consent_update event.
The choice is remembered for up to 13 months. A small button lets the visitor change their mind.
Add your site, paste one line of code and pick your colours. English and French are included on every plan.